Building Smart Glasses for Prom
January 2026
Introduction
From Iron Man to the stylishly elegant Kingsman glasses, augmented displays have always been a technologically advanced fashion statement.
One which has captured the attention of nerds and scientists alike from even the 1990s and quite frankly, it feels almost like a rite of passage to at least attempt to construct wearable technology as a hobbyist maker.
As if the coolness factor wasn’t enough of a reason to try to make some, I also had an event coming up, and figured I ought to fashion something suitably unique to wear…
“Prior Work”
I’ve previously attempted to design smart glasses before to… varied levels of success, such experiments included:
- Modifying a Lenovo Star Wars AR “headset”
- Using a FLCOS display with a composite driver & attaching it to a half-silvered lens

Trash Glasses
Both attempts were… extremely bulky and not quite as elegant as you would expect “smart glasses” to look.
Waveguides
Luckily for me, sufficiently advanced technology technology exists, called waveguides.
Waveguides allow us to create incredibly small optical systems ideal for AR applications, but how do they work?
Waveguides primarily use internal reflection to move light from one location to another.
There are really 3 main types of waveguides:

Waveguide Types
(Sourced from arvrjourney)
Waveguides allow for incredibly thin optics, however, they operate at much lower efficiency compared to alternatives, this means that the display needs to be much brighter if you want to be able to view it outdoors.
Inmo Air 1
I was scrolling through eBay, when a particular listing caught my eye:
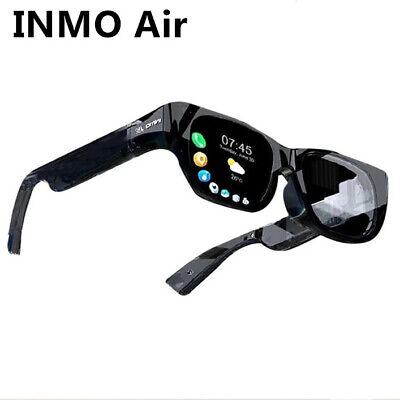
UK INMO Air Glasses 3D Smart Cinema Steam VR Game Black Sun Glasses High Qualit
£190.80
Some may call me a coward for not manufacturing my own optics, but quite frankly for £190.00 there was no way to compete.
It was simply not possible to make my own waveguides for that kind of price, hell, I didn’t even know where to buy waveguides alone for that price as they often went upwards of £700.
As such, I bought it.
First Boot
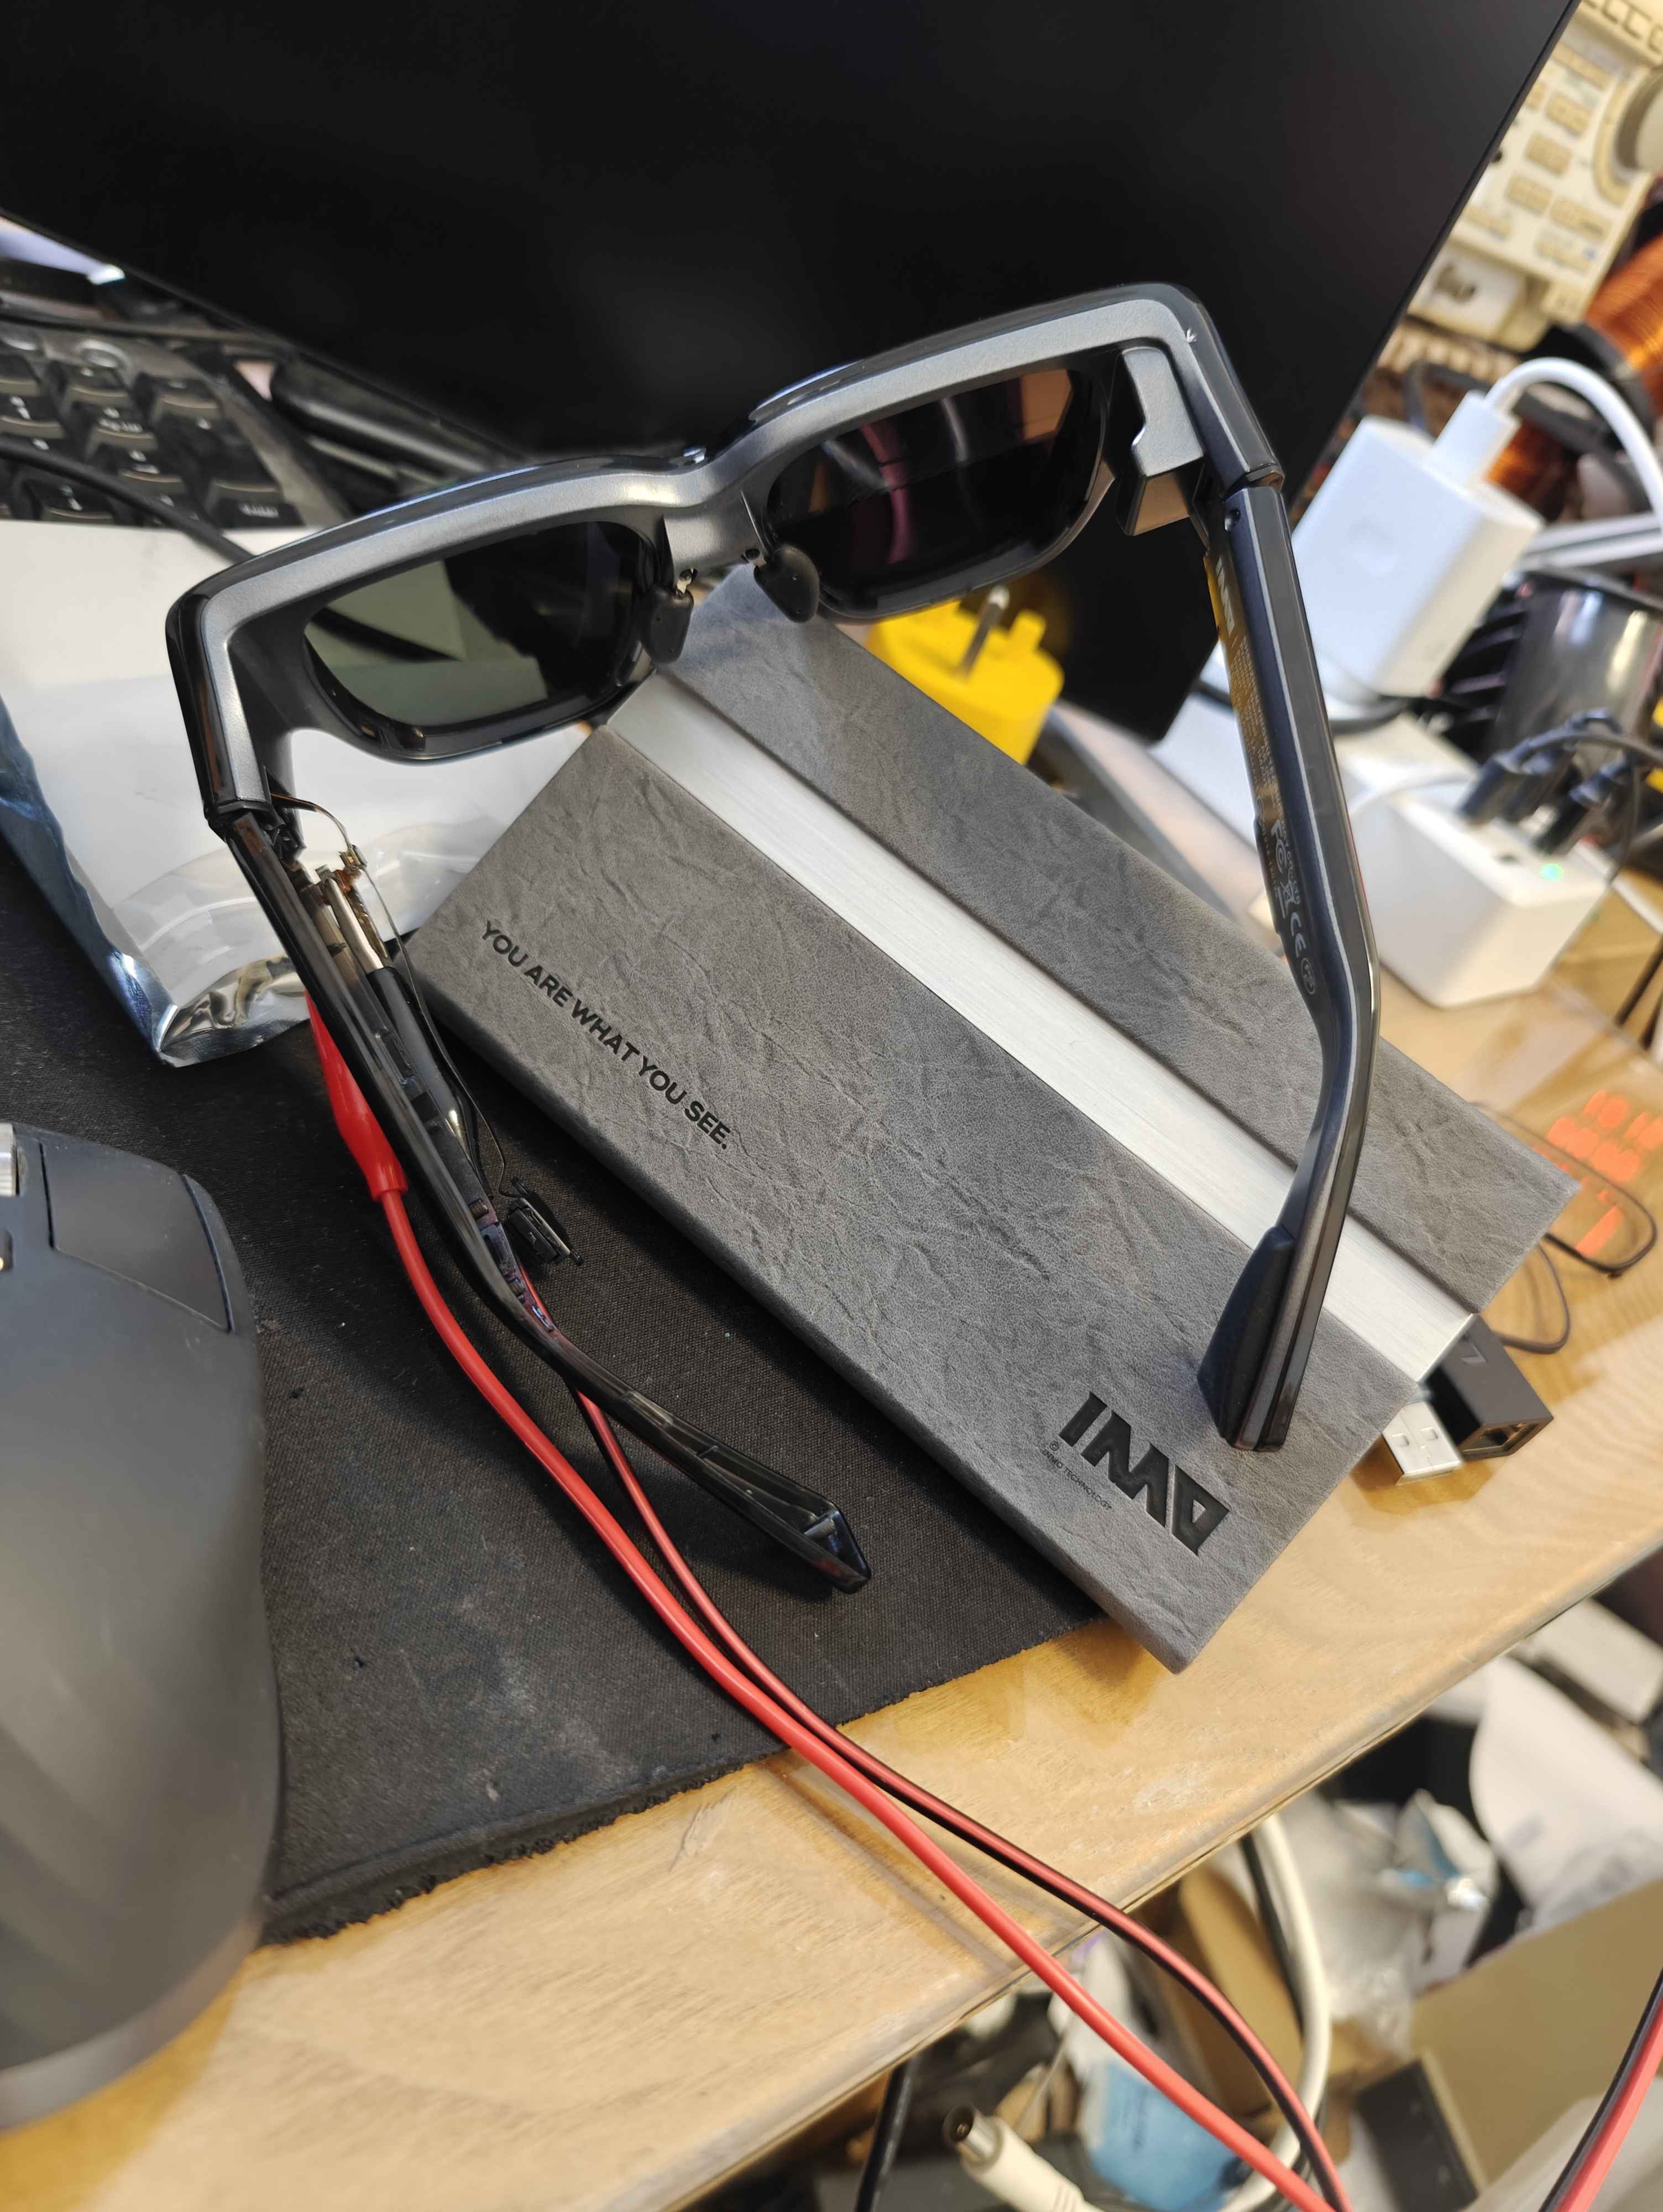
Unfortunately, when the glasses arrived, they refused to charge properly as shown.
After attempting to charge it for over an hour, I caved and started tearing it down…
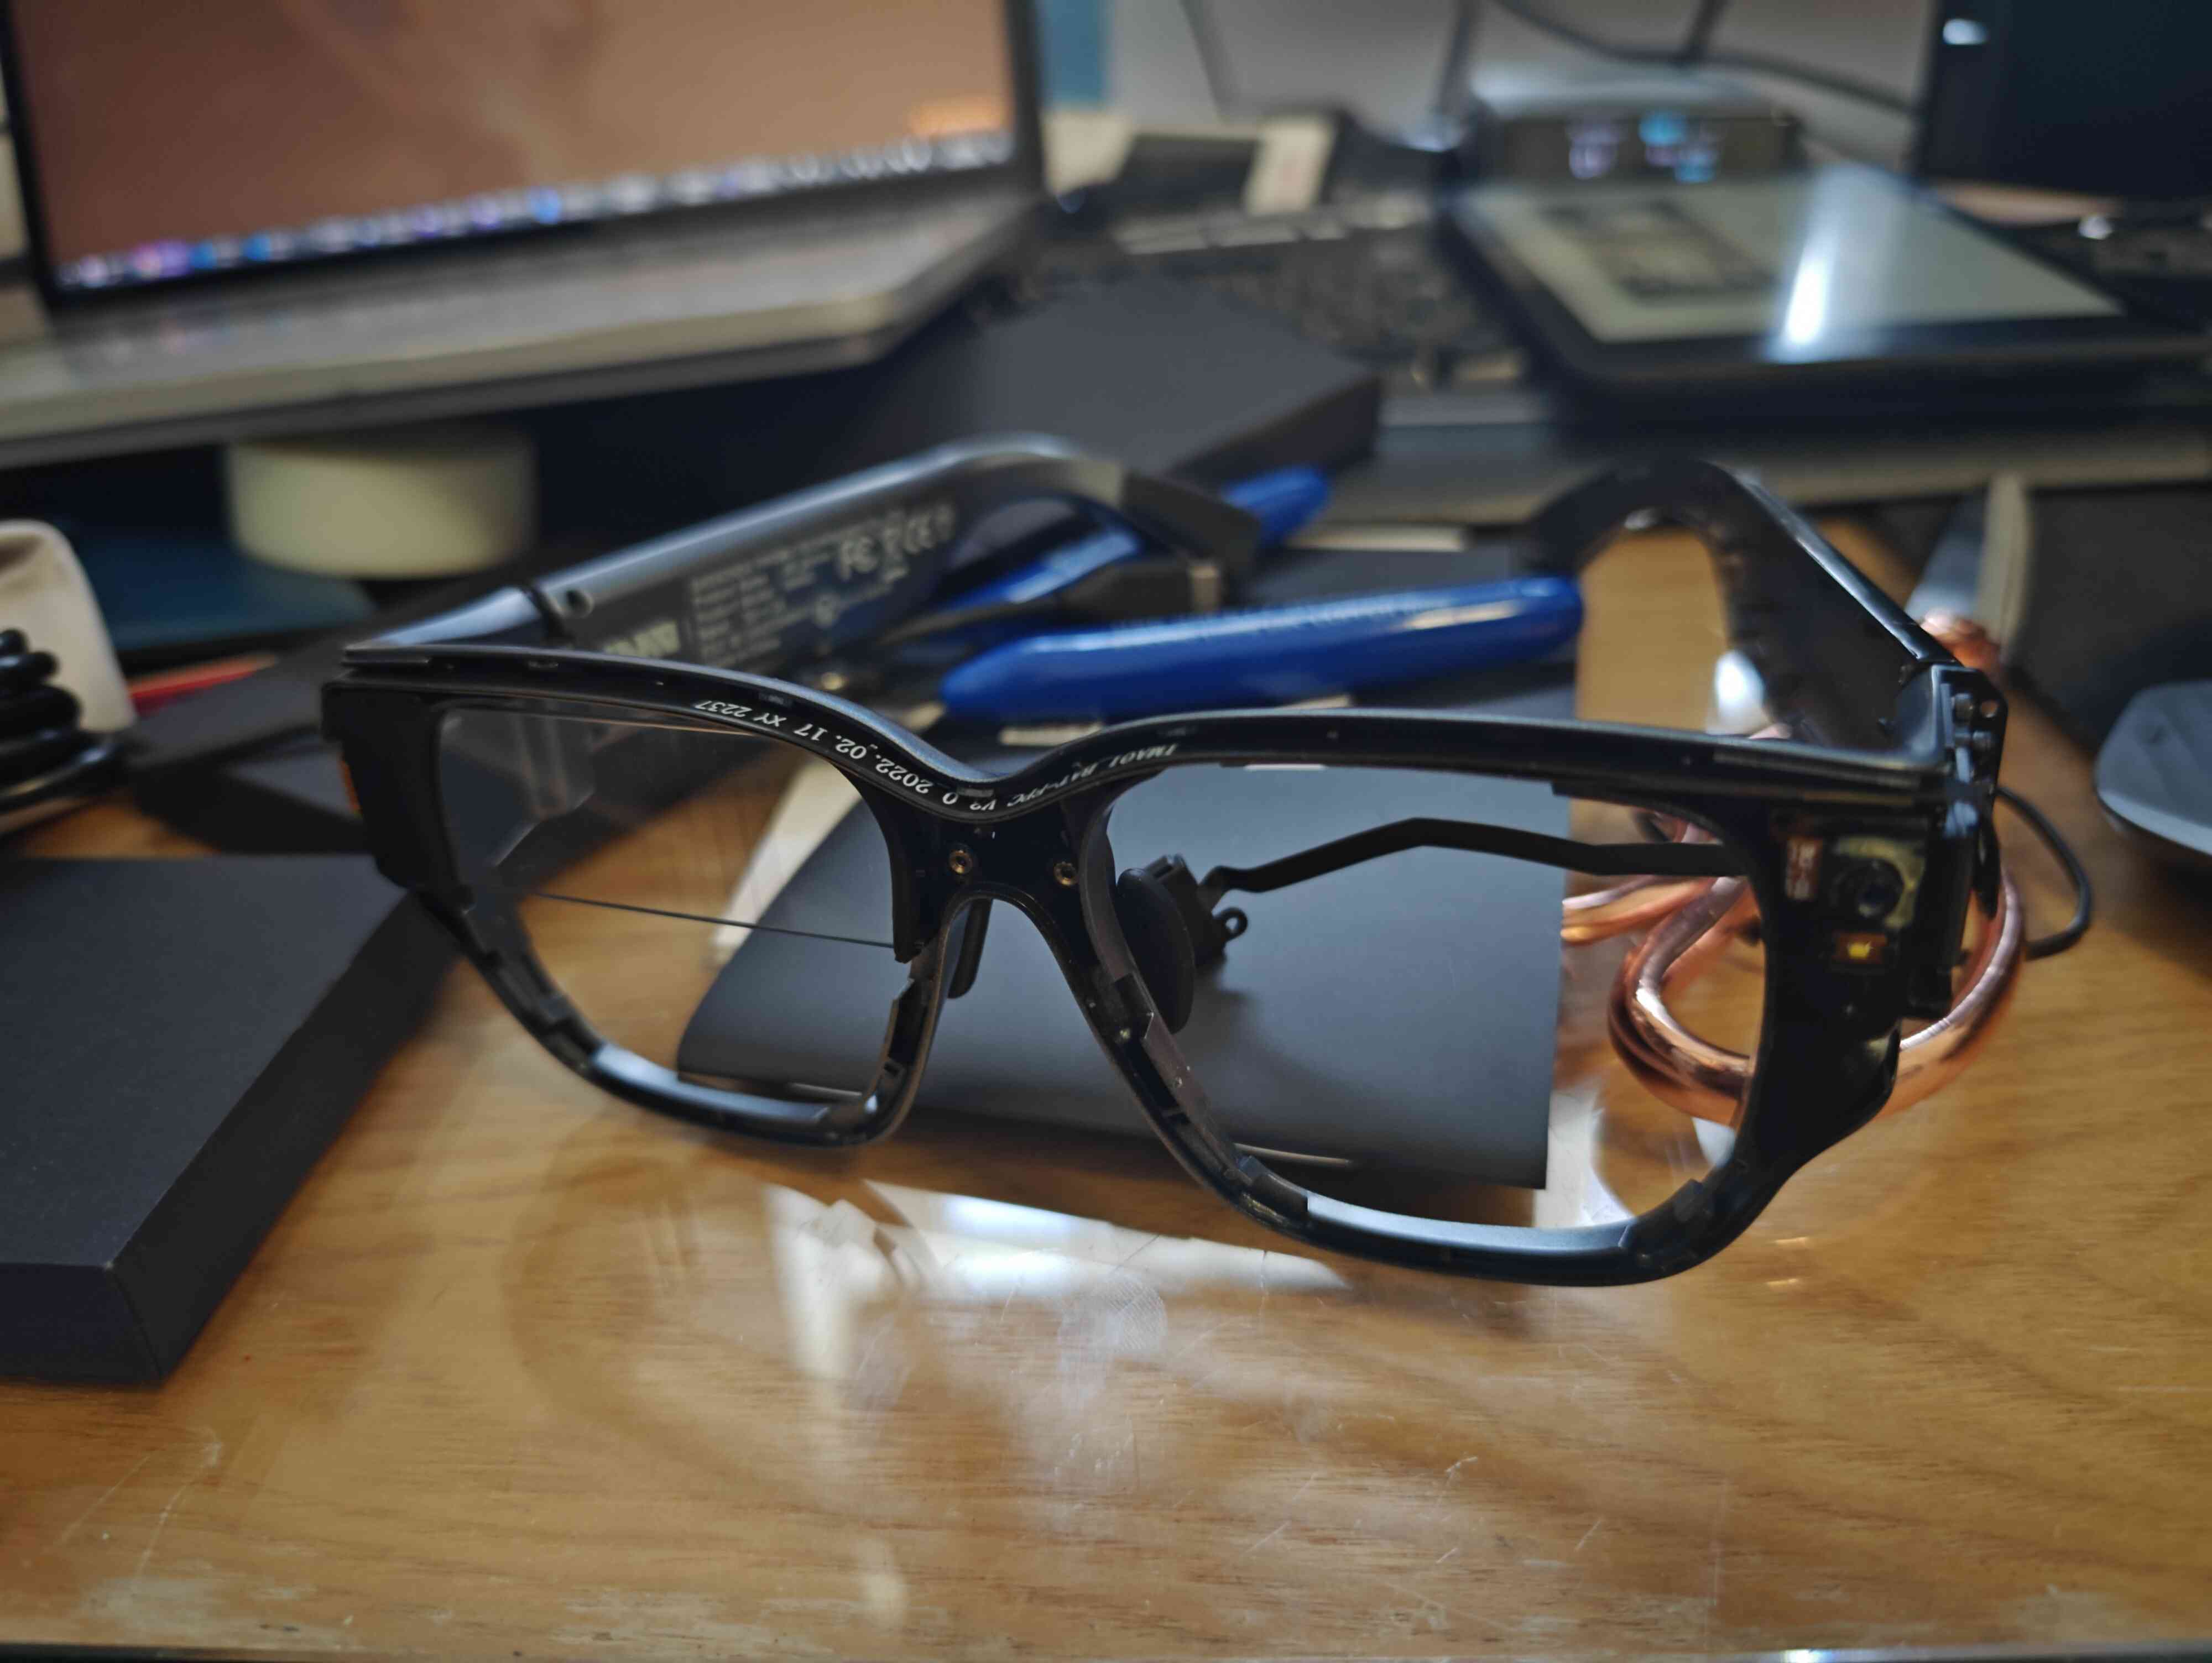
I removed the battery
and instead attached power leads directly to the glasses, which after providing 4.2v through them, allowed the glasses to boot for the first time
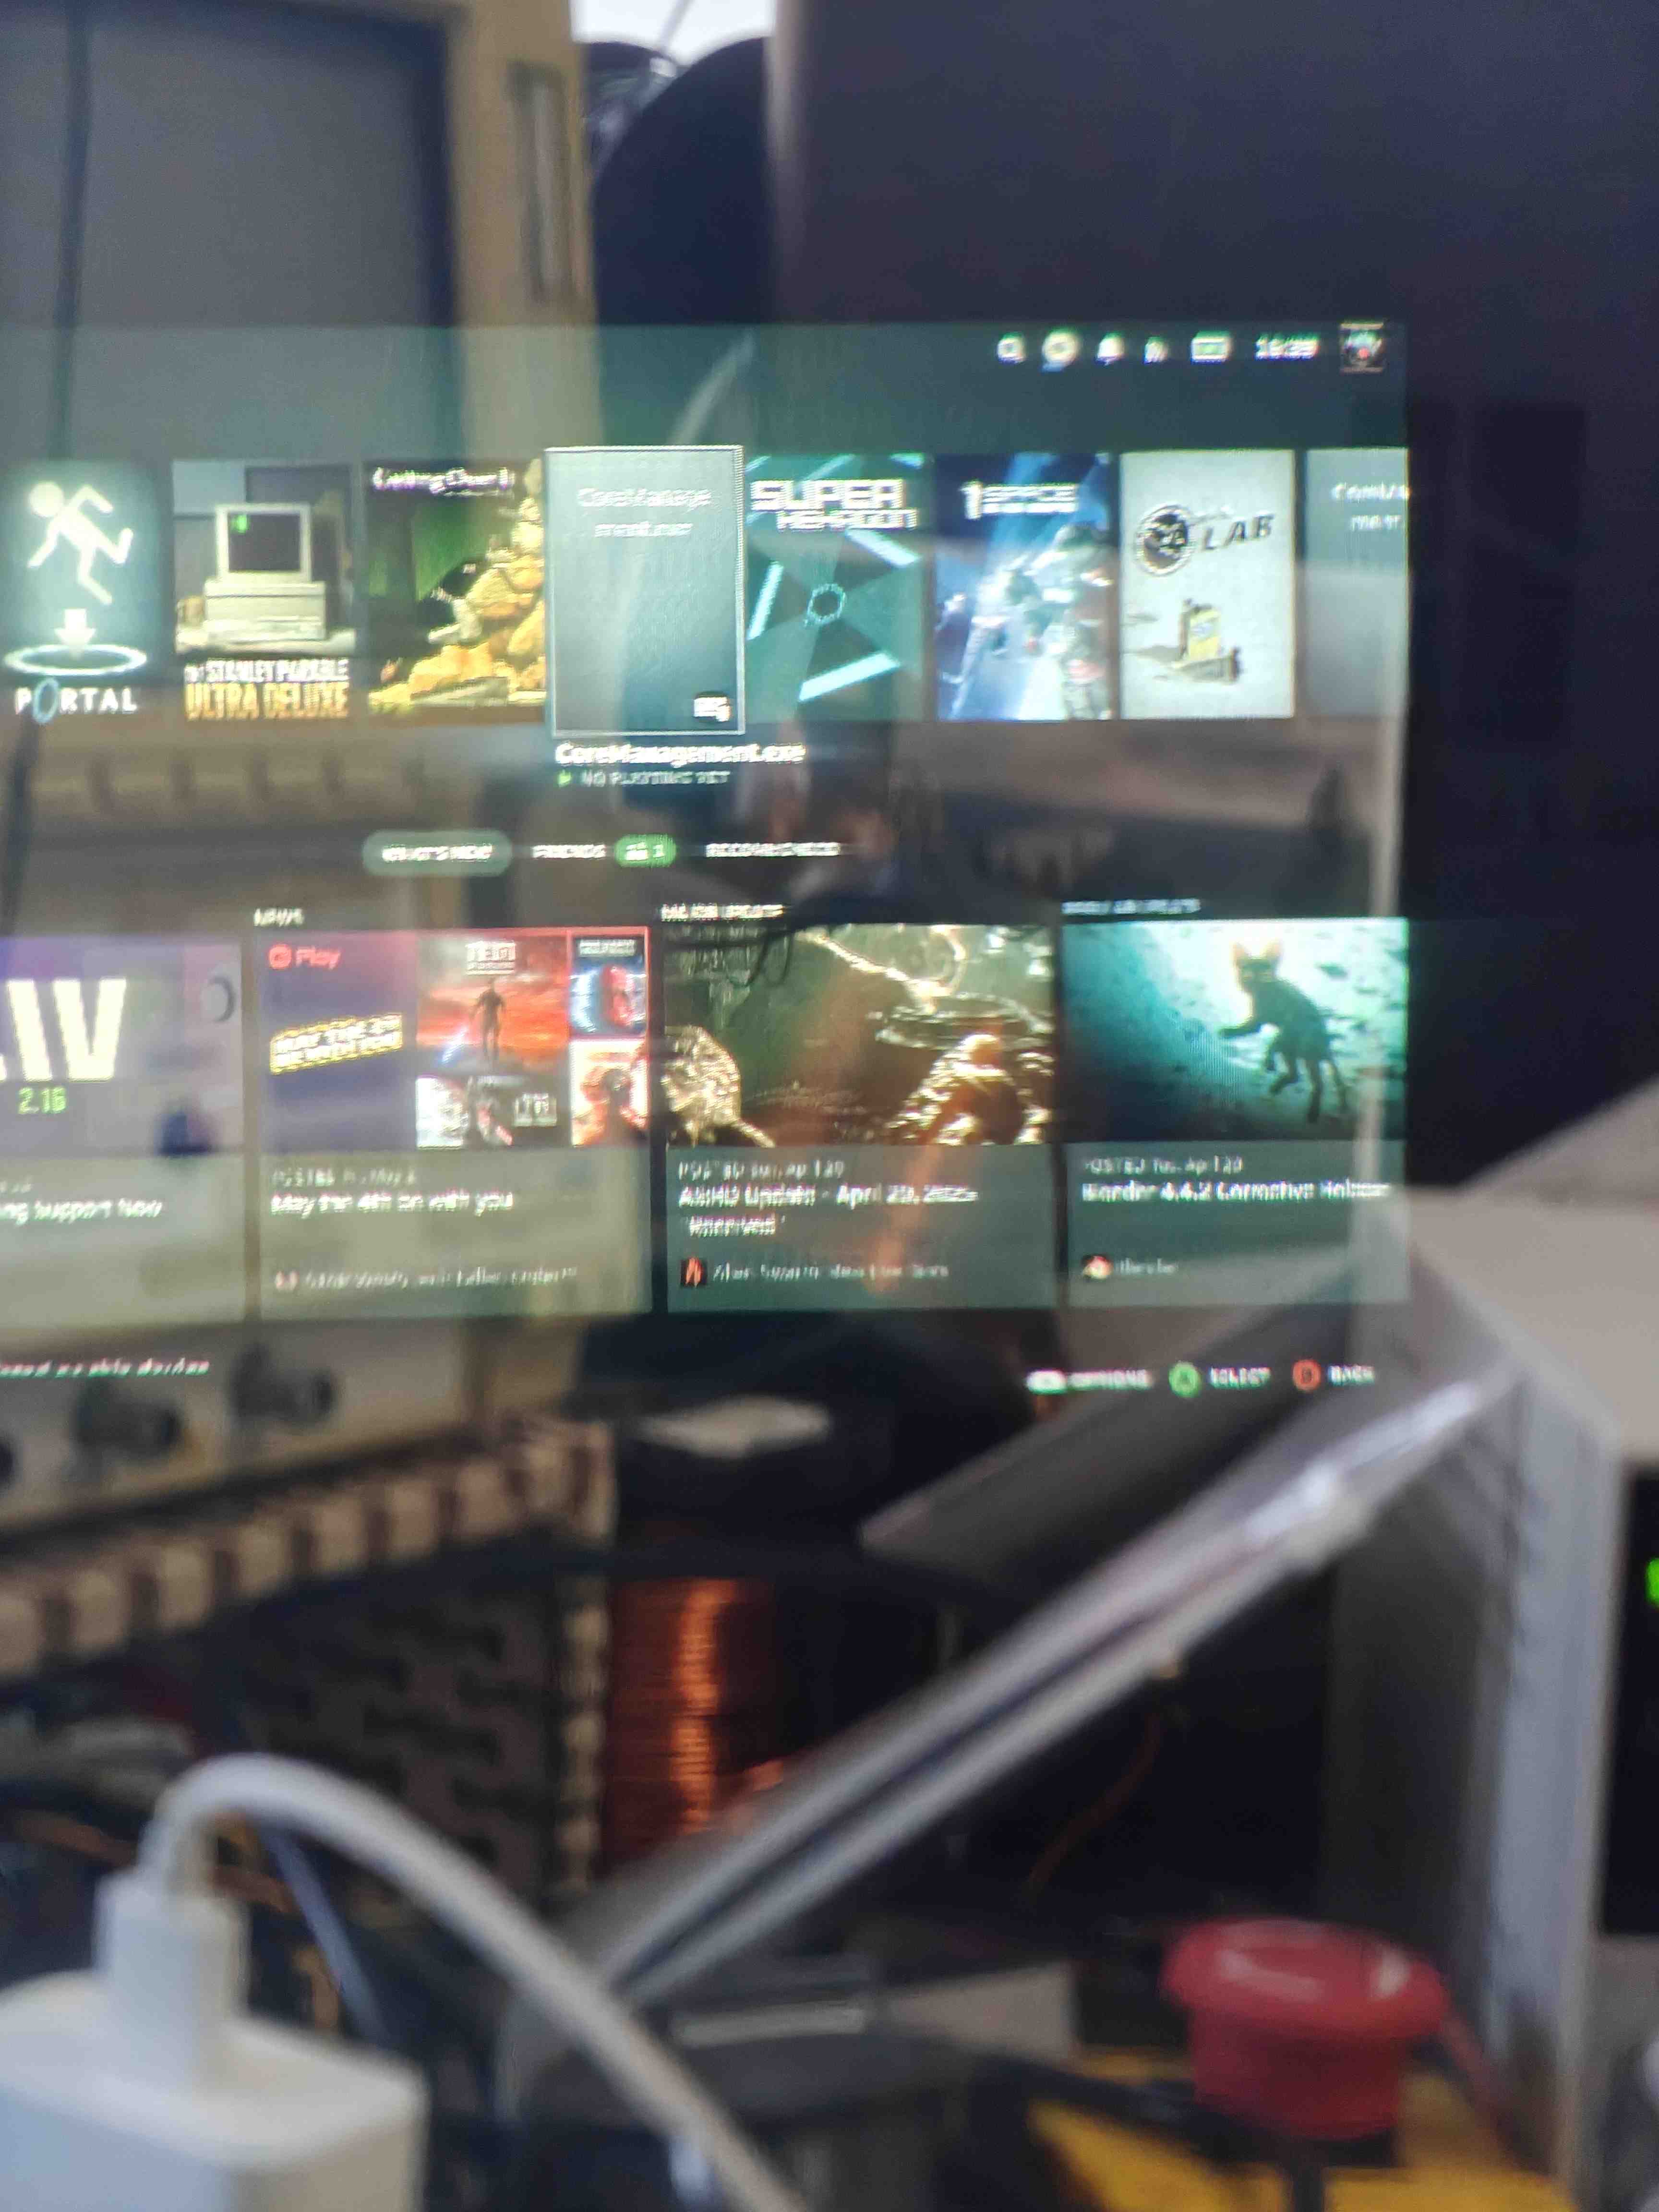
(yeah the keyboard clearly has… a lot to be desired)
Technical Details
- UniSoc processor
- Running Android 10 “Go”
- Fairly capable, could run latest Minecraft Bedrock and Discord
- Motherboard got relatively warm during prolonged use
- Very power efficient
The waveguide leaves a bit to be desired as it is impossible to see the displayed image during daylight, luckily this would not be an issue for me given the nature of the event.
Additionally, image quality isn’t perfect with some blooming however it looks significantly in person compared to through the camera.
Enabling Developer Mode
The INMO Air 1 is relatively locked down, however, developer mode can be enabled with the same steps and code as the INMO Air 2:
- Go to
Settings > About > My Glasses - Hold down the touchpad for
1.5 seconds - Enter the following code:
20210108
ADB will now be enabled over USB
New Chassis
As cool as the INMO Air was, the eyebox position was inconvenient when worn as glasses, so I opted to rip out the electronics and develop my own chassis!
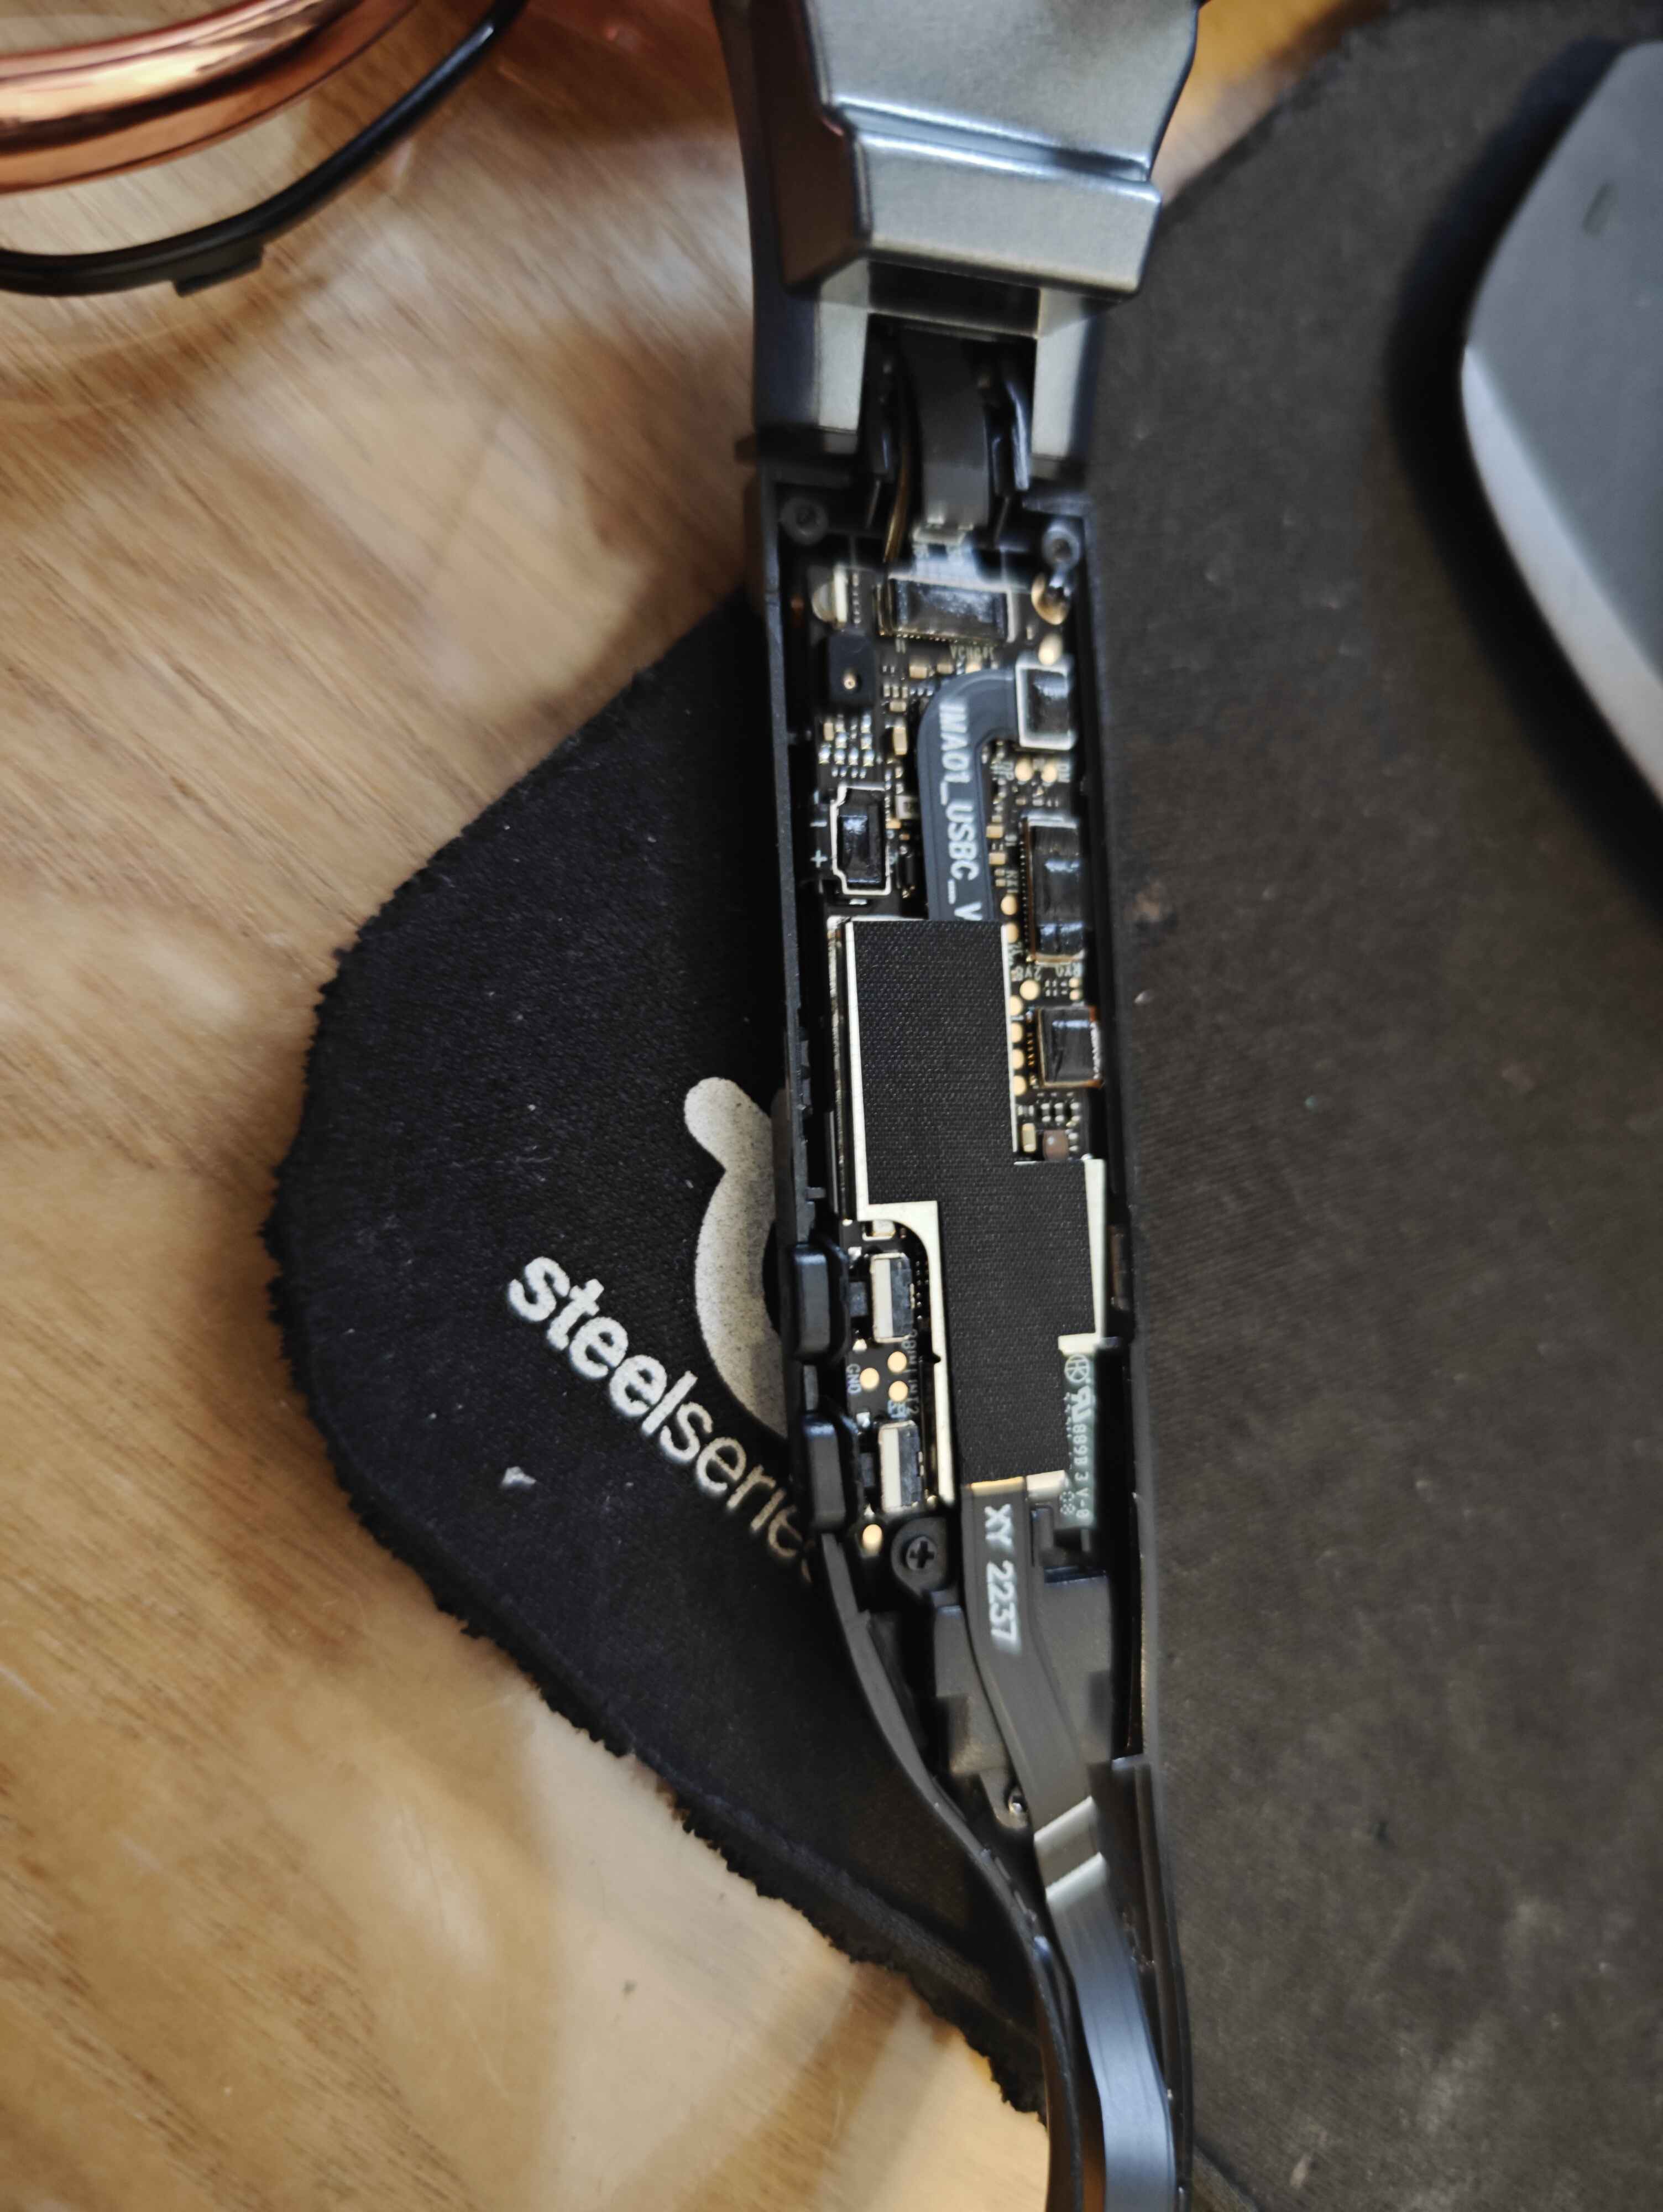
Removing The Electronics

Removed trackpad PCB

Motherboard

Motherboard with battery attached

The display module

The camera module
")
The side of the camera module (housing gryoscope)
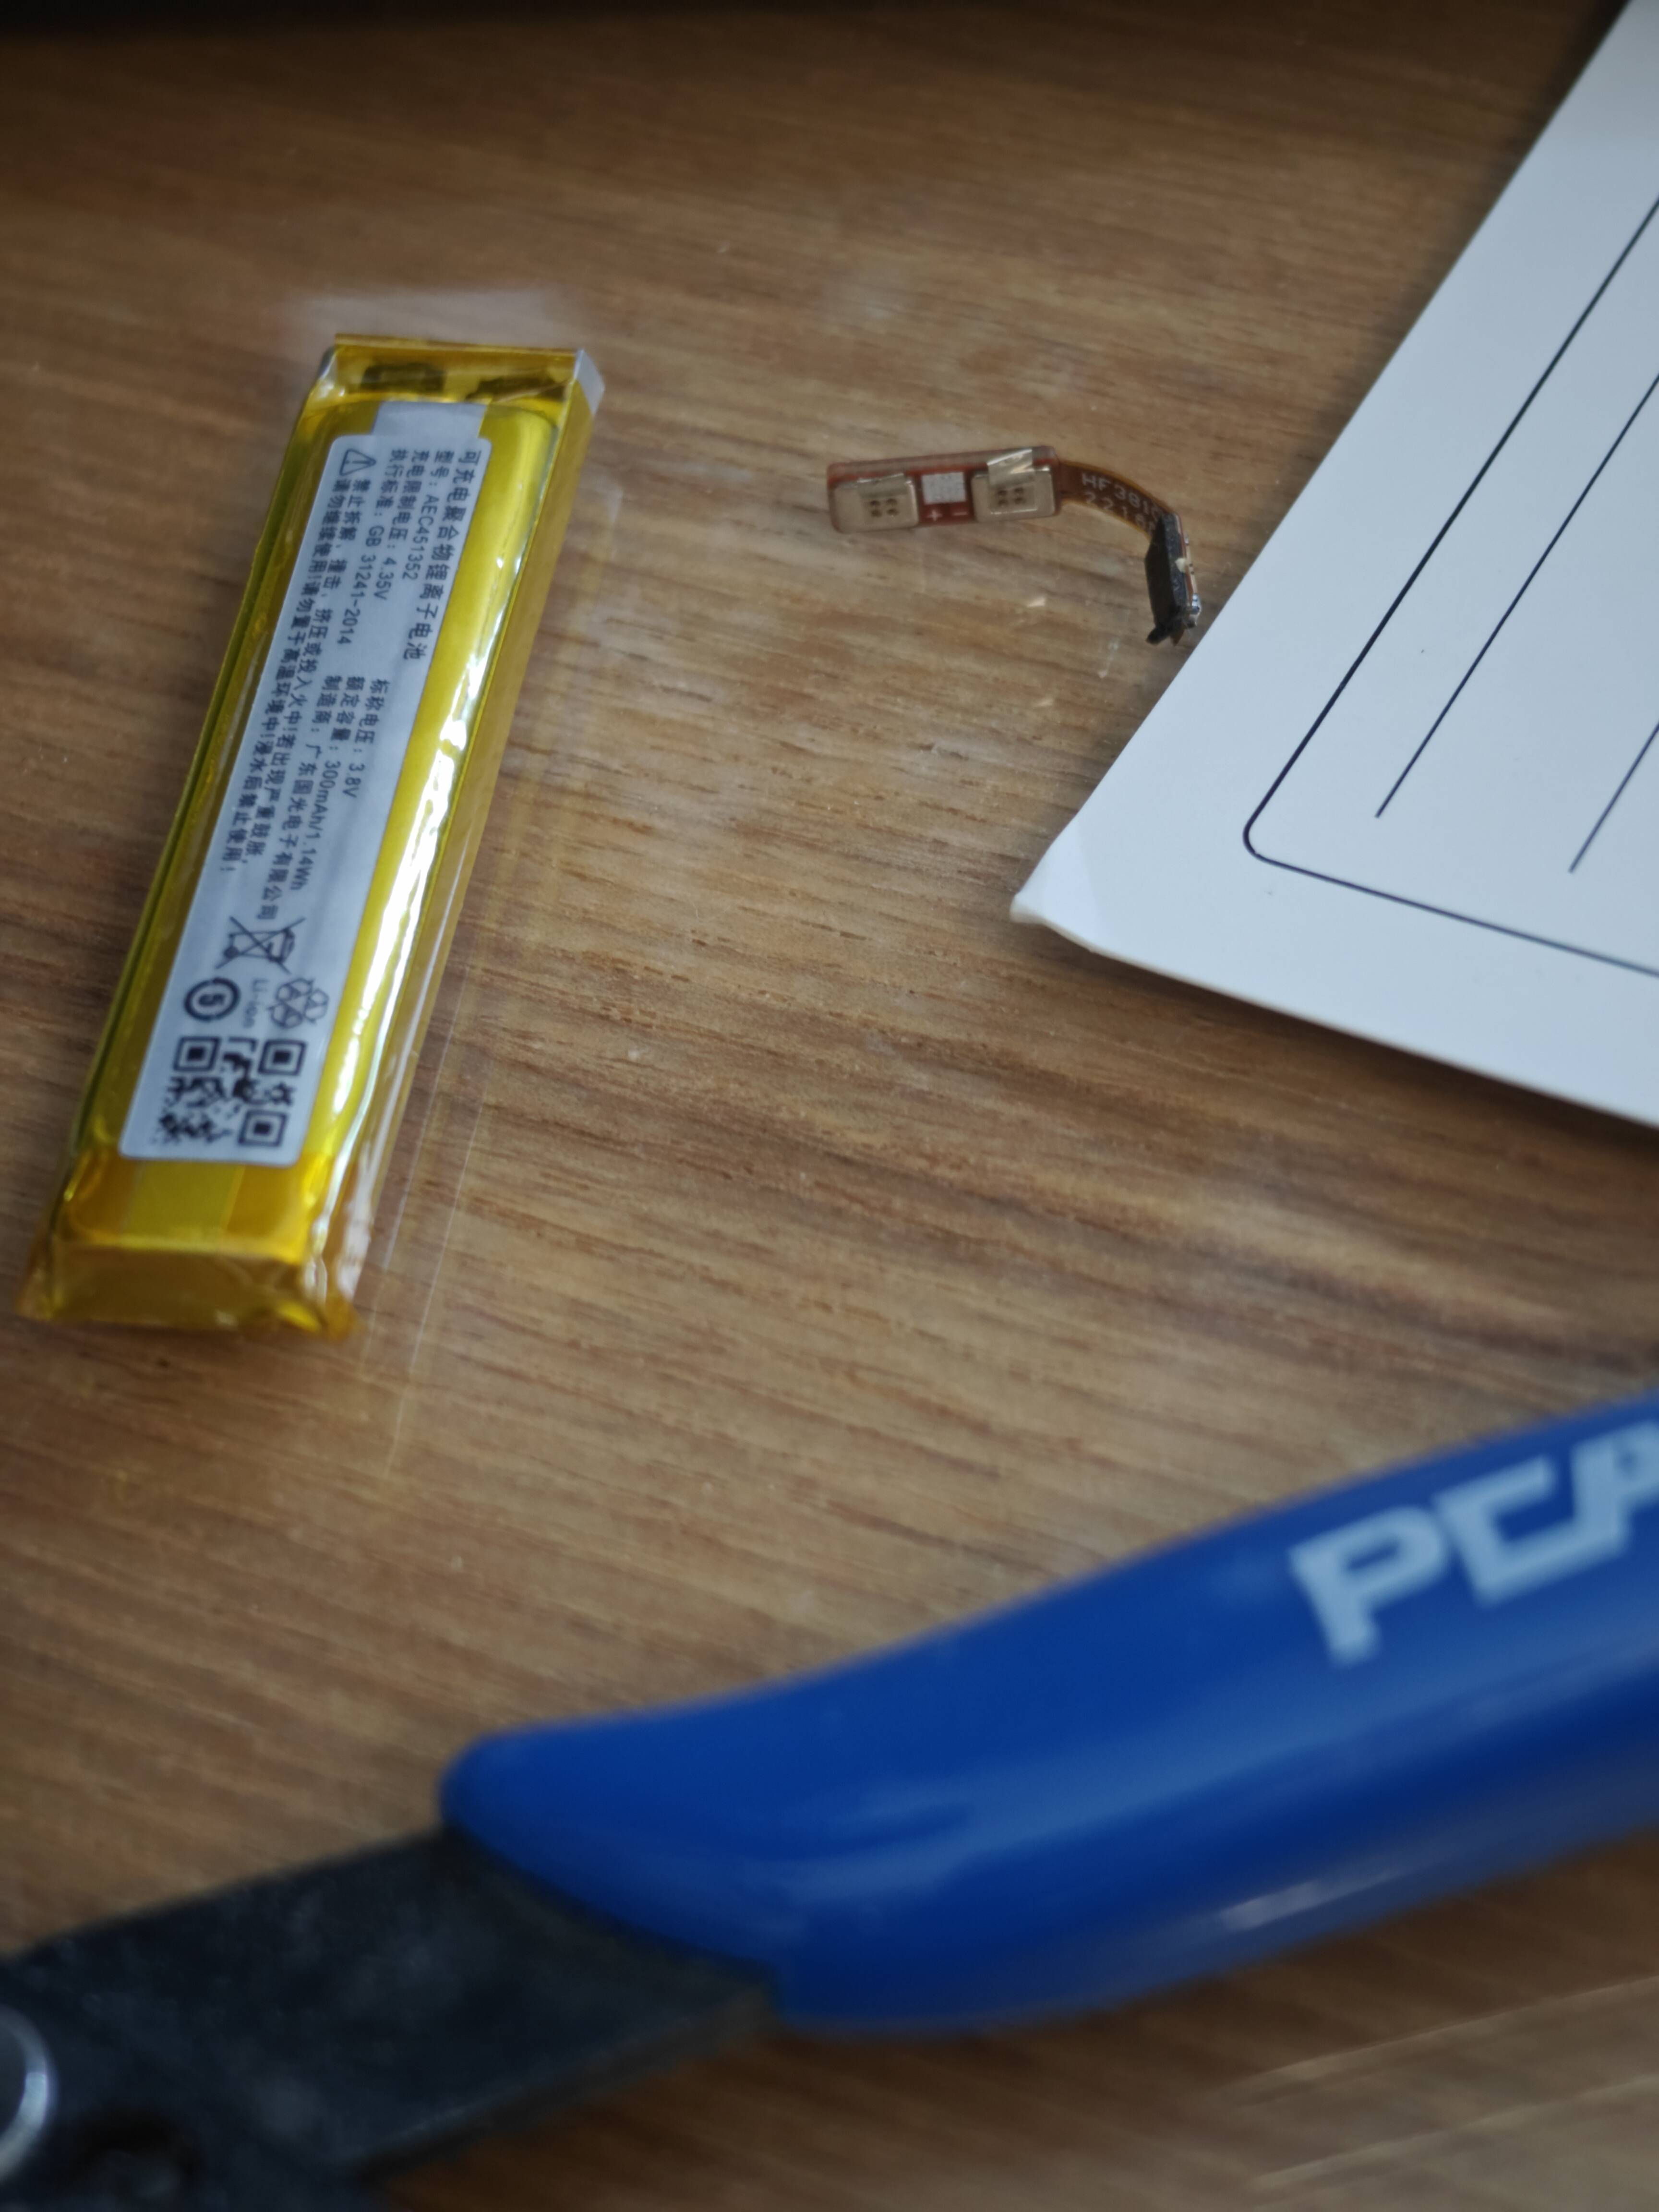
As I have Bluetooth-capable hearing aids I did not need the speakers, so I removed them - interestingly, I found that the battery connector could be attached directly to the motherboard, without the intermediary speaker cable that it previously had

Speaker cable

Battery connector on speaker cable
")
Motherboard connector on speaker cable (note the +/- indicators)
Building a prototype

Whiteboard sketch of an idea

Prototype for sizing

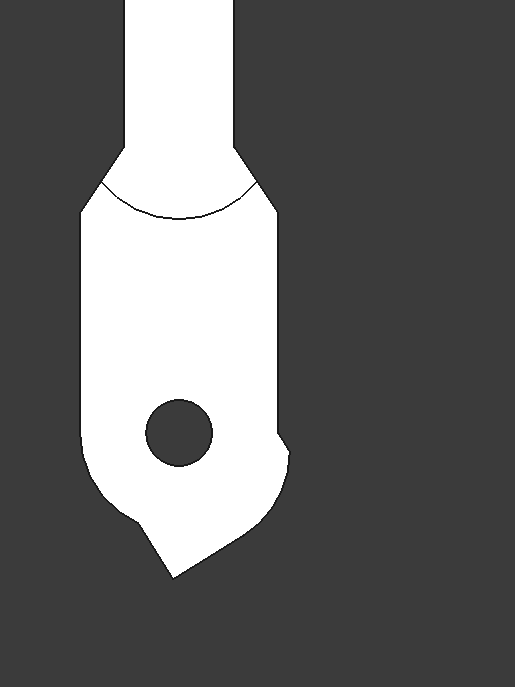
FreeCAD Design

Folding prototypes

Folded prototypes
With an idea of how this was going to work, I 3D printed a lot of prototypes to get the size and the folding mechanism right, and eventually settled on the following:

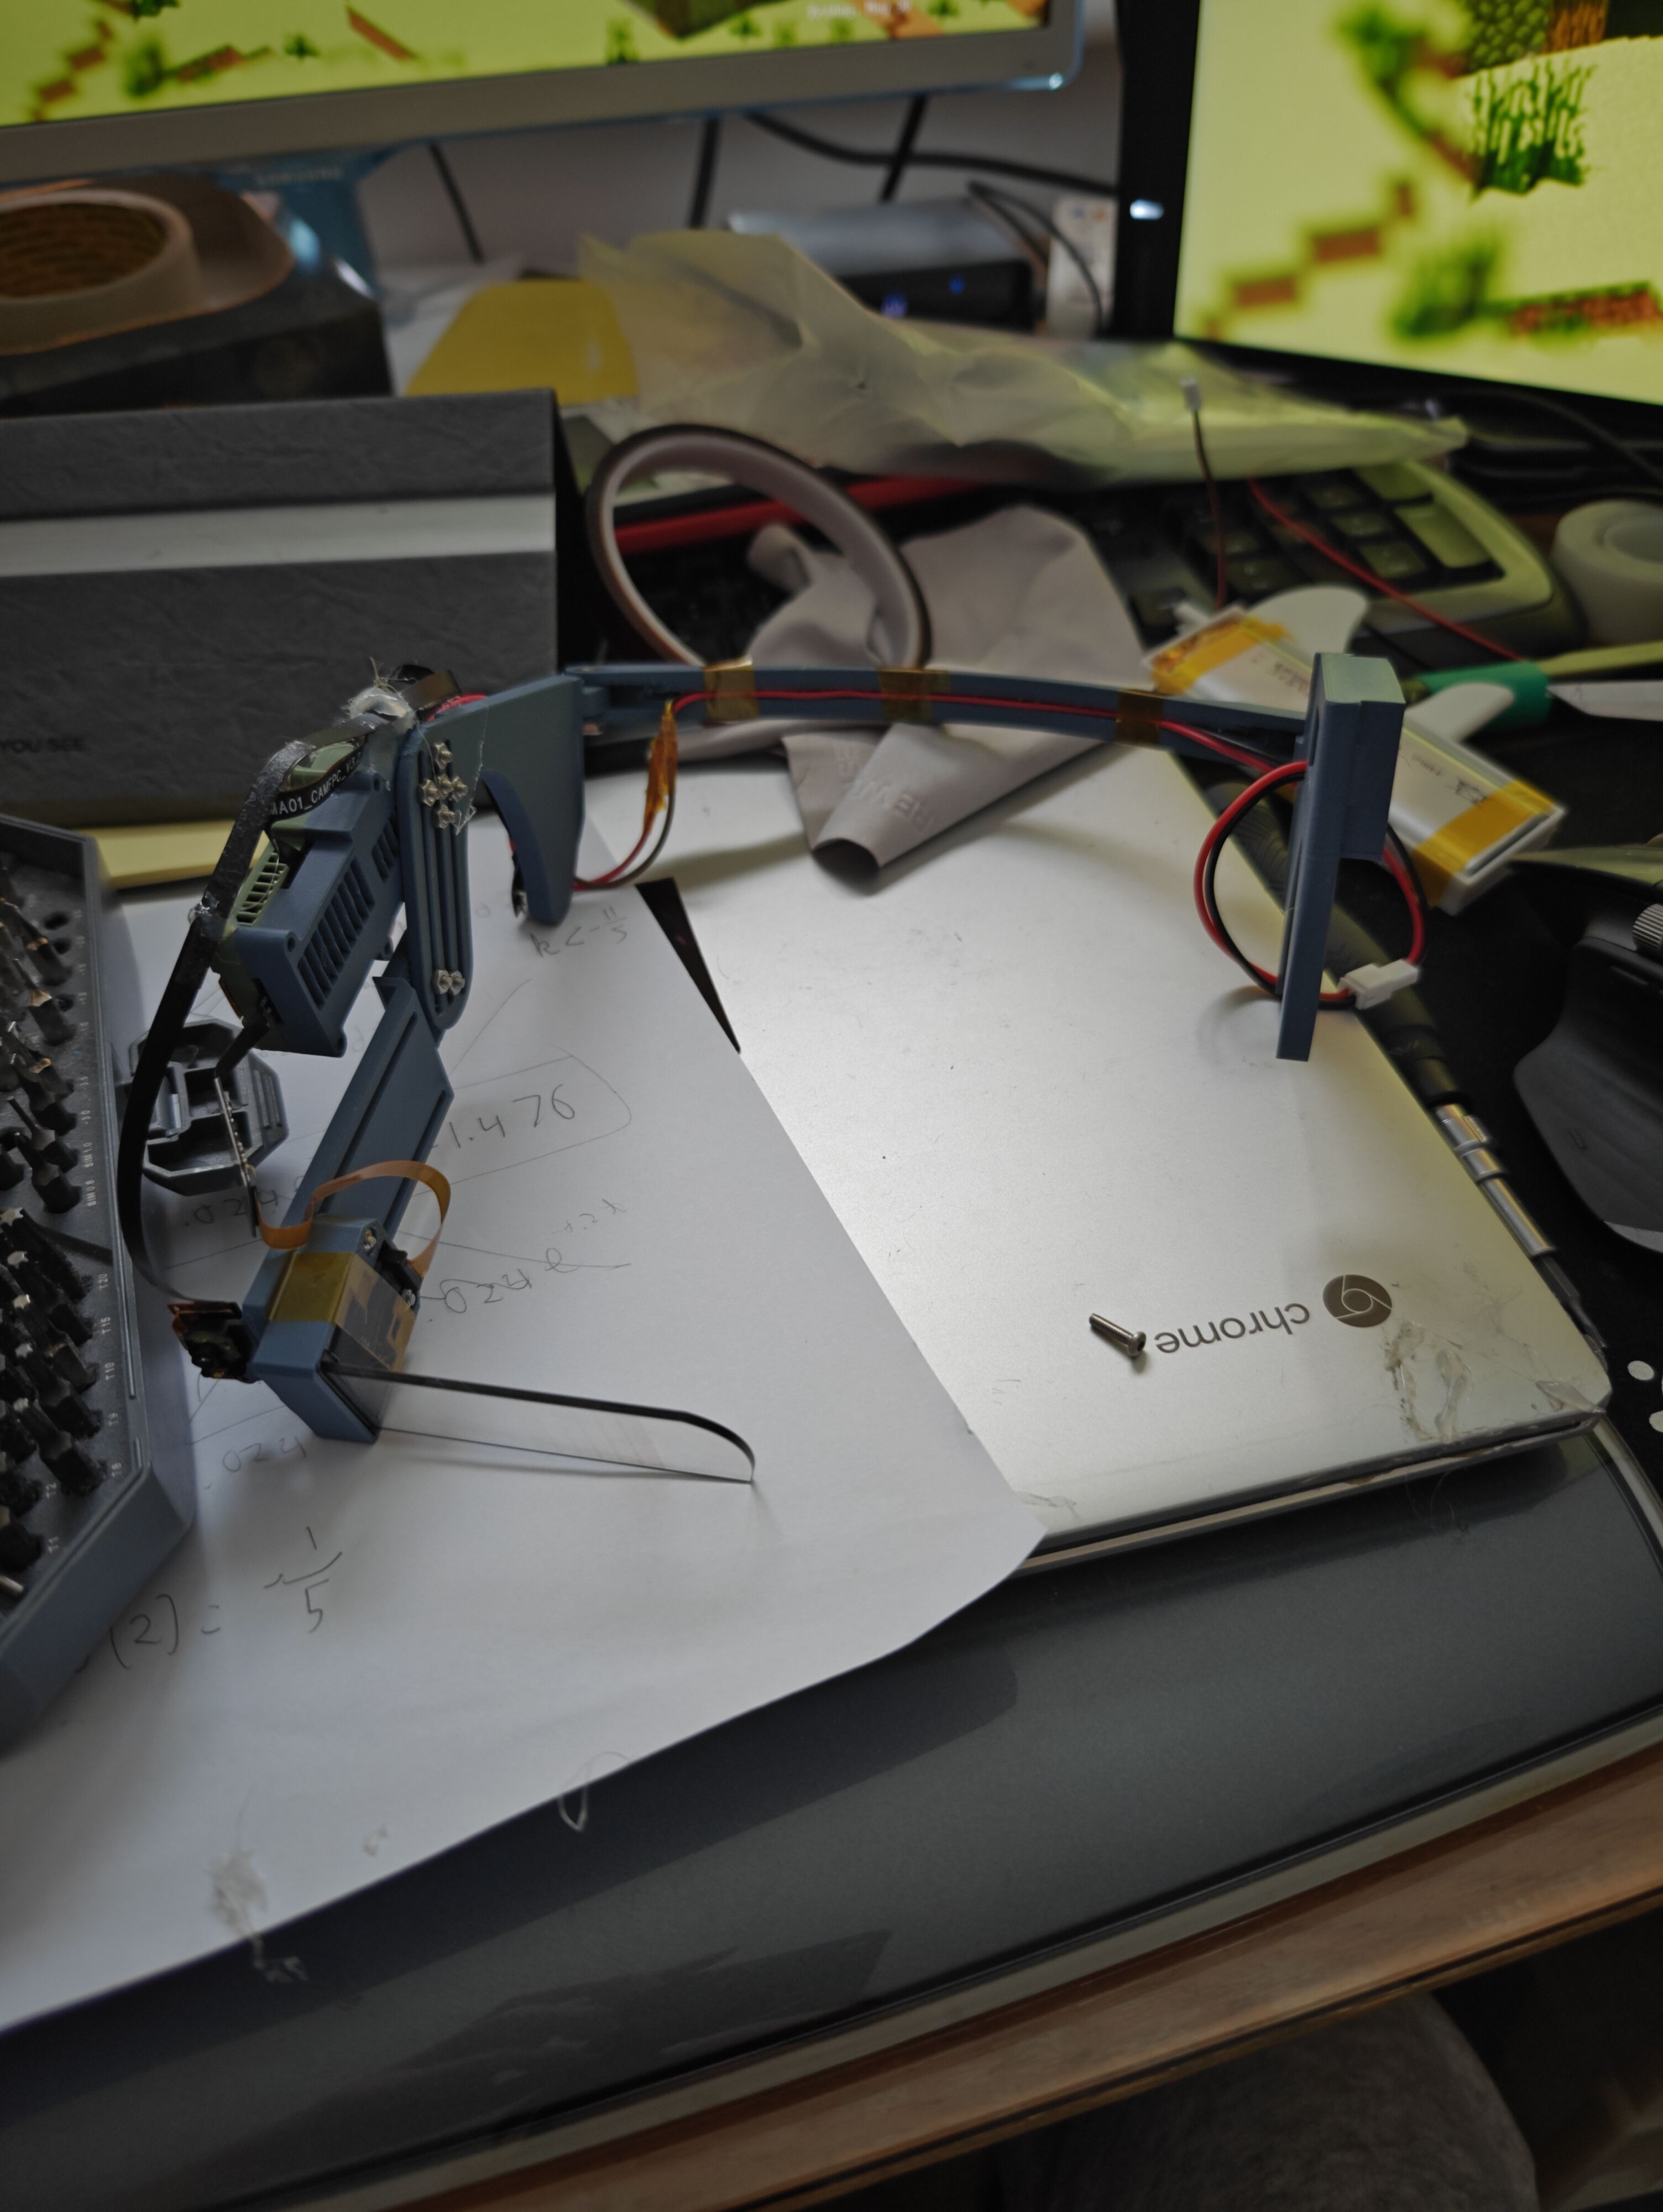
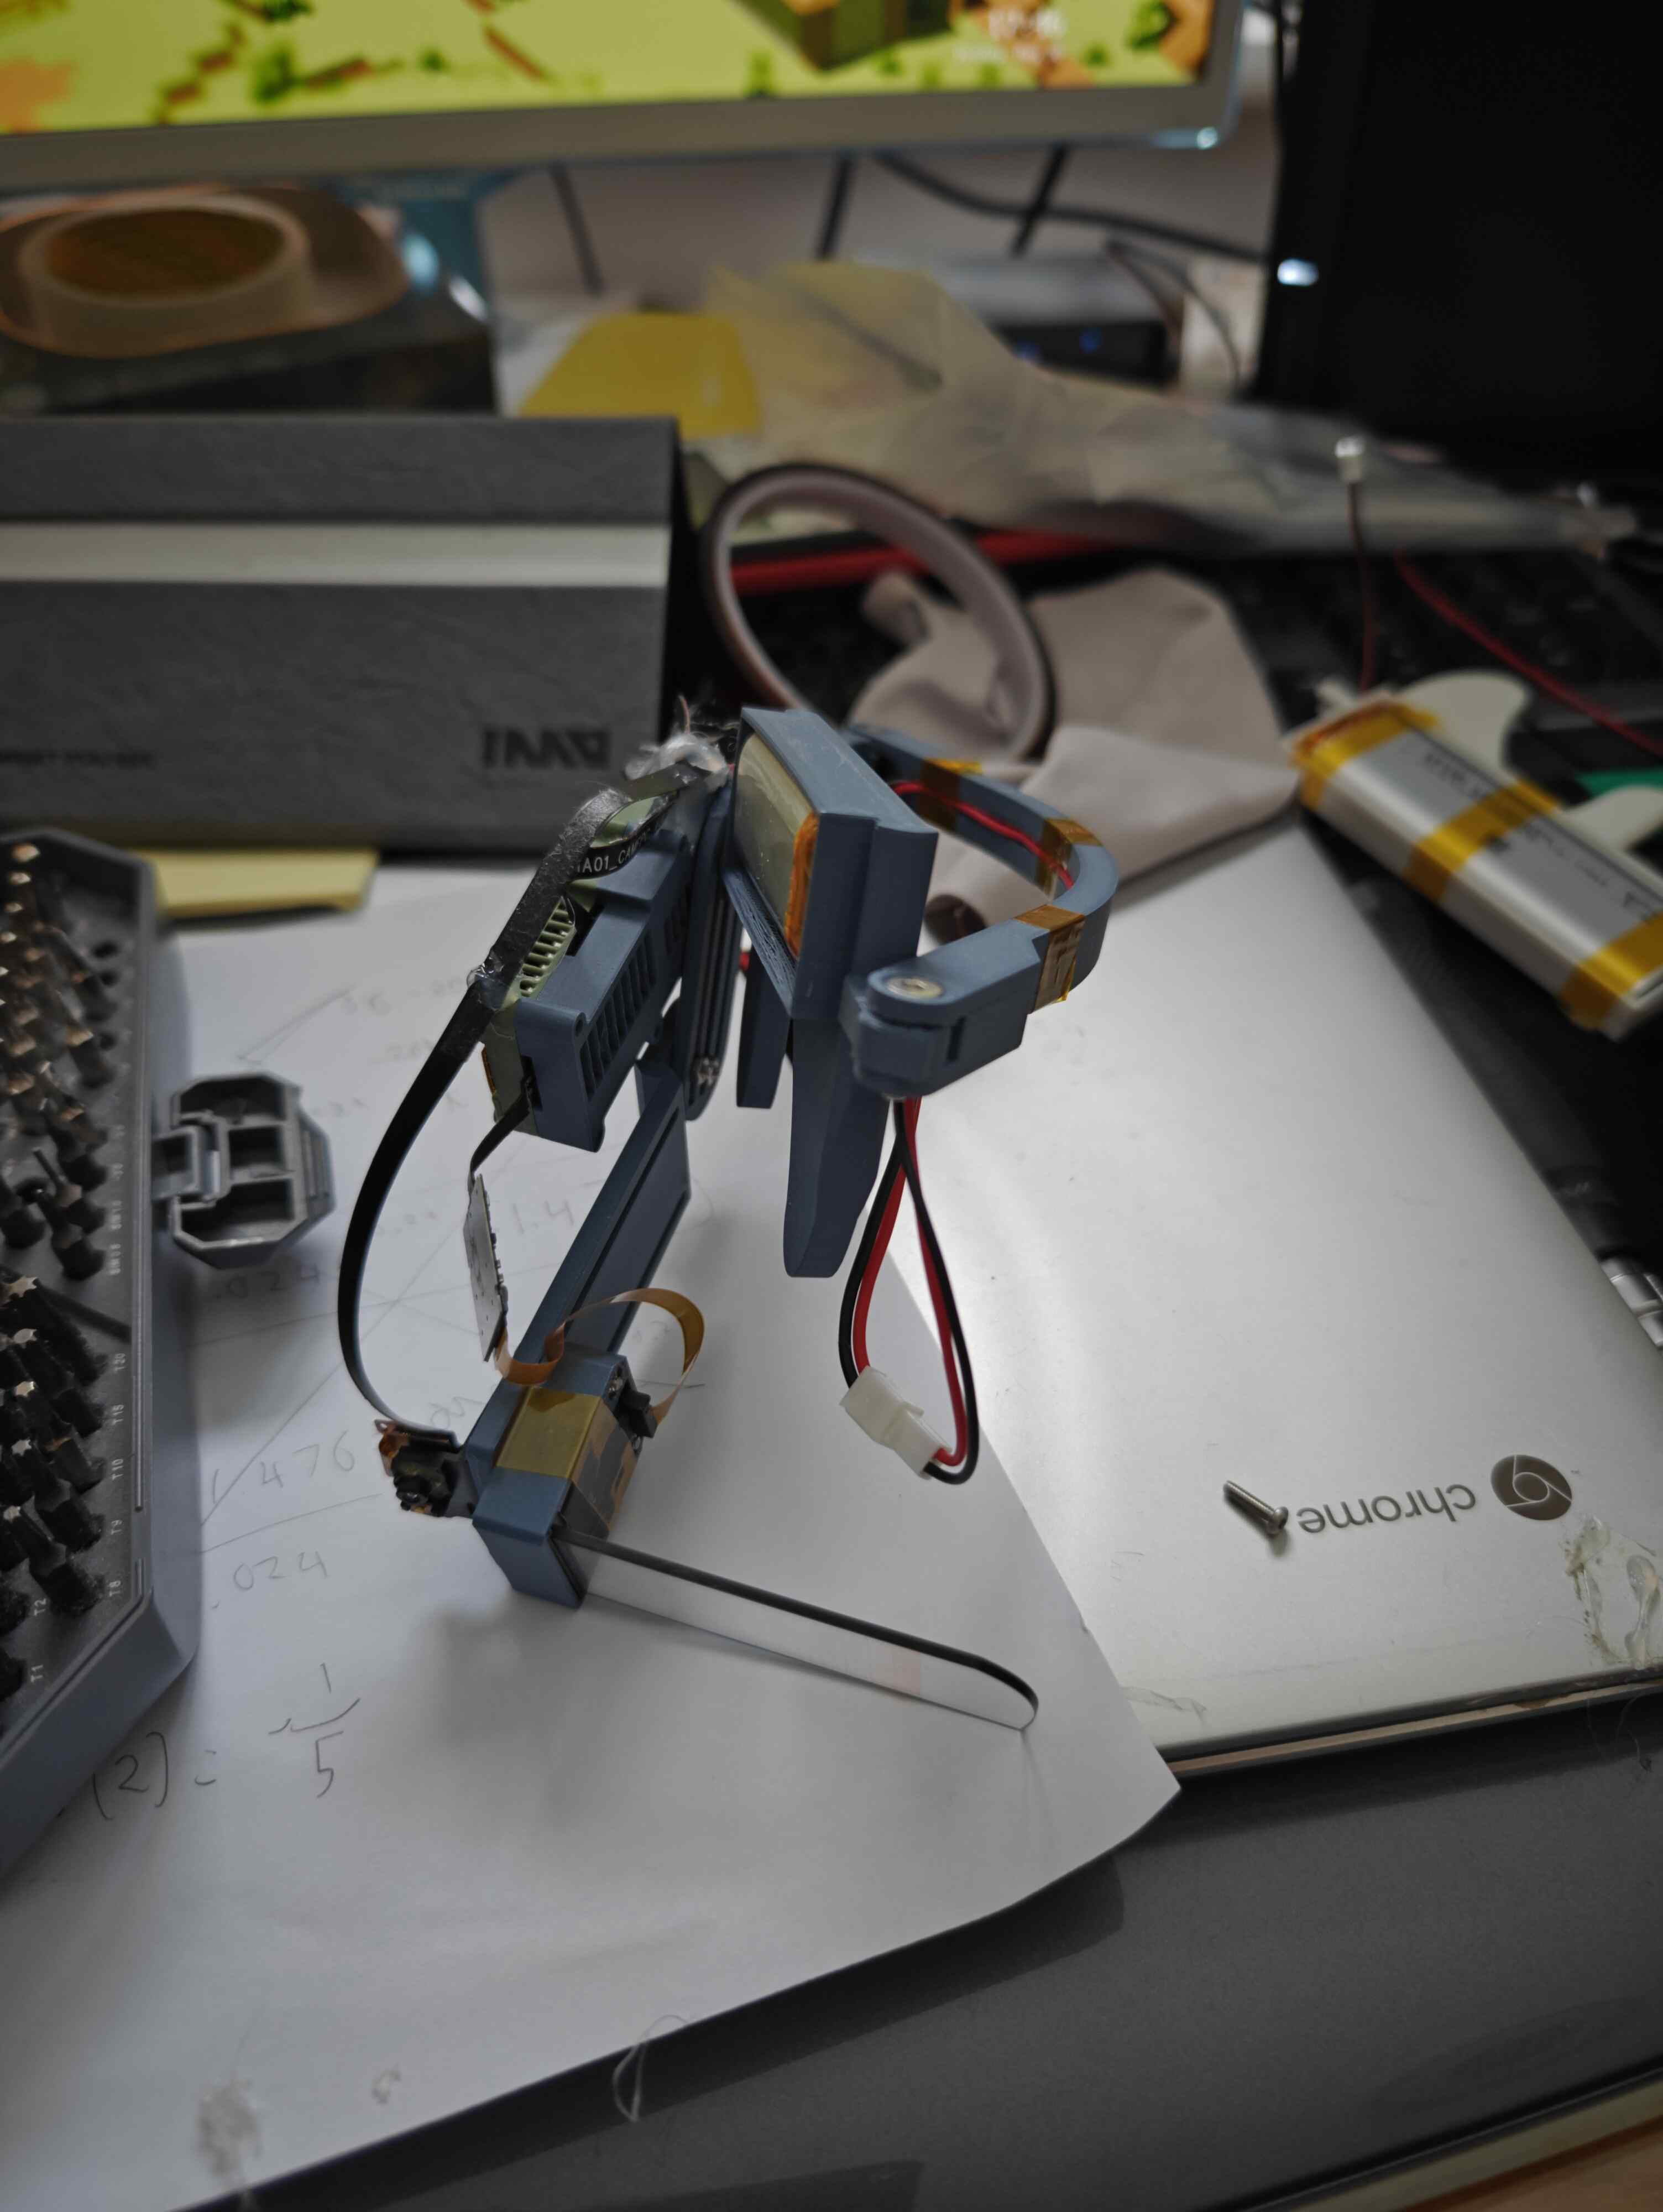
Prototype Assembly

Partially Assembled Prototype
I also used my increased space to increase the battery capacity from a mere 300mAh to a whooping 3700mAh.
Unfortunate Malfunction
Whilst it worked fine, it stopped working around 10 minutes before the event, so I ended up walking around with a somewhat… defective HUD during the event which I did attempt to fix on-site, to no success
Repairs and redesign
After the event, the following problems were identified:
- Battery connection failed
- Uncomfortable on battery side due to my choice of an extremely large battery
- Hinge snapped lol
I decided to redesigning the majority of the HUD:

Main frame design

Motherboard holder design

Motherboard lid
Design changes:
- Added extensive ventilation holes to the motherboard holder
- Increased hinge strength
- Increased size of hinge backstop so it wouldn’t break again
- Reduce battery capacity from
3700mAhto1100mAh
")
Battery Comparison (3700 vs 1100)
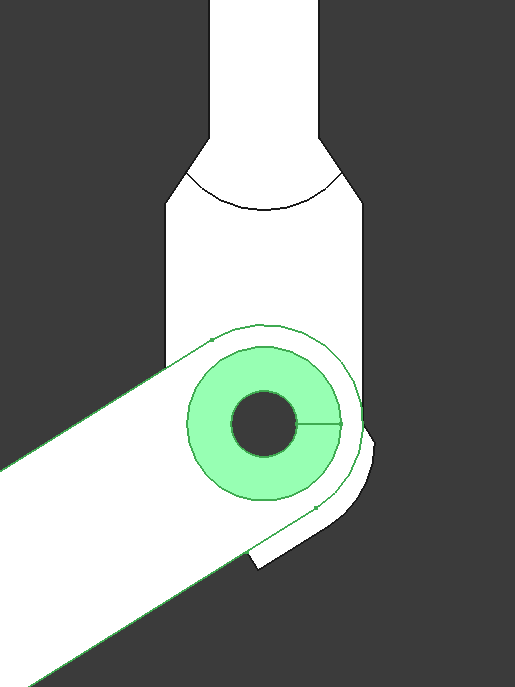
New hinge design:
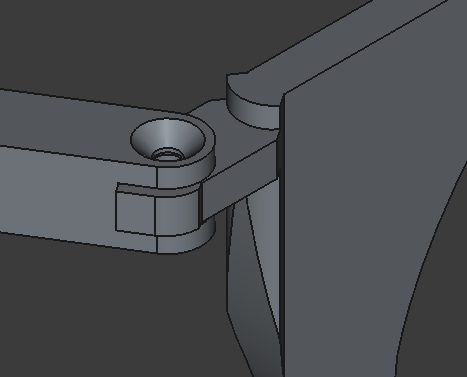
Finished HUD
Future Plans
I have and do plan on continuing to make minor improvements to these and wear them to events, however there are fundamental issues with the optics and display used in the original INMO Air 1.
As such, I may design a new HUD around an alternative optics stack… come to think of it, didn’t the Epson Moverio offer decent brightness outdoors…